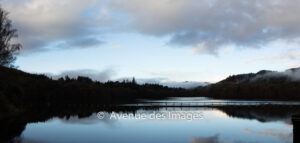
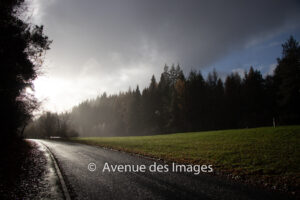
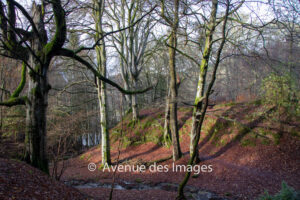
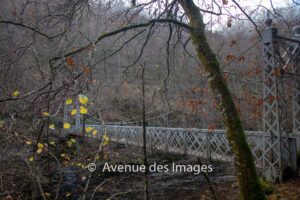
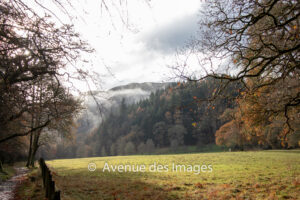
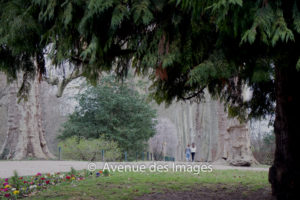
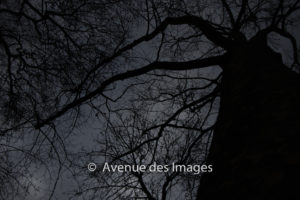
Having spent most of the second half of the year travelling and not updating any social media or this website. I have now a day relaxing, preparing for the New year celebrations. And yesterday I walked to the Cascades of Chiloza in the cold winter sun.
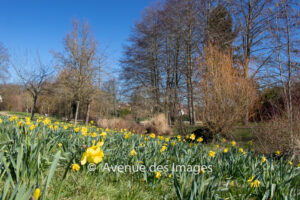
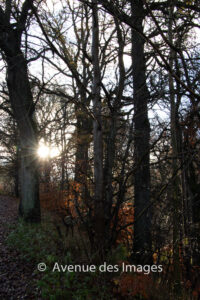
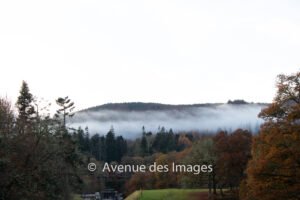
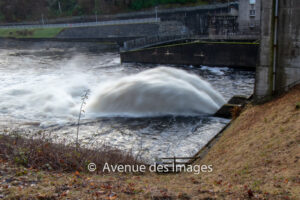
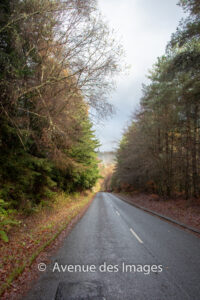
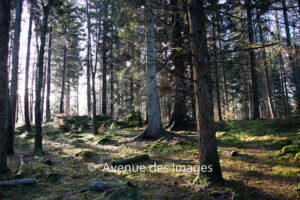
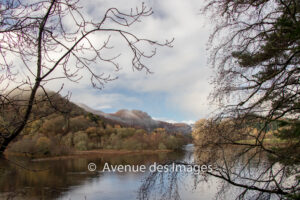
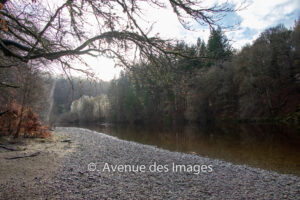
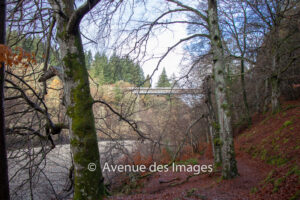
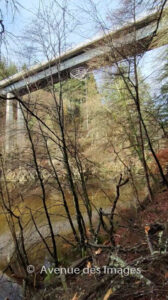
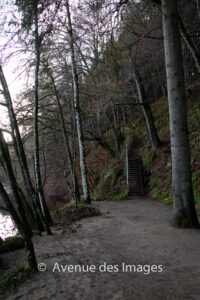
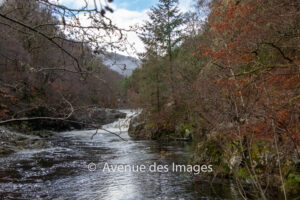
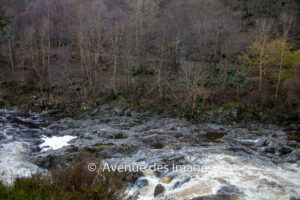
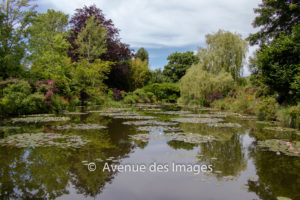
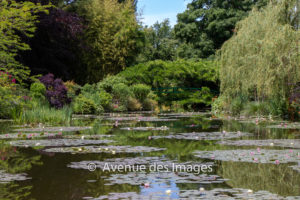
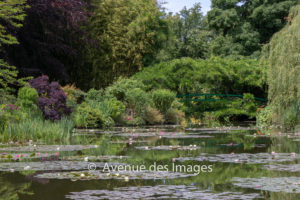
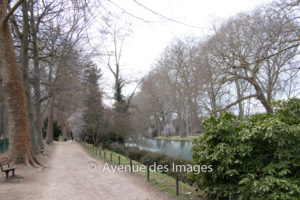
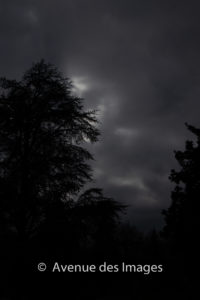
A great short walk of around 7km that includes some very high steps and a steep hillsides. It’s not for everyone but overall is fairly moderate. The reward is the sequence of waterfalls and cascades that are spectacularly beautiful in the river valley.


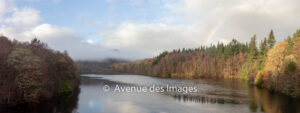
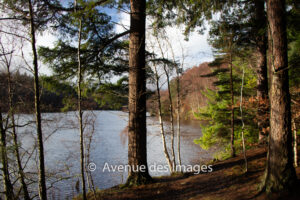
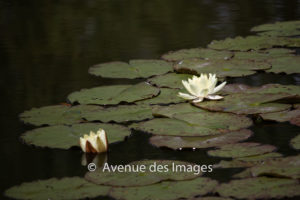
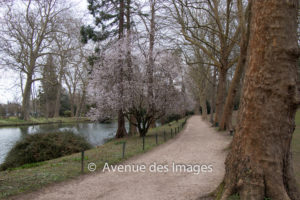
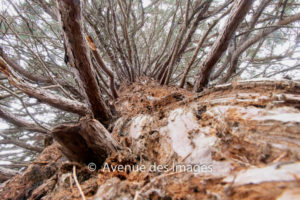
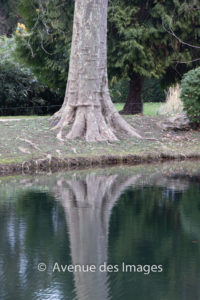
Using a long exposure helps with the lighting as it was not very bright under the trees and also gives the flowing water a movement blur. I like these images.
How to Purchase
A selection of my photos are available for purchase online. The links to purchase the images above from the Cascades of Chiloza are on the corner of the image. Why wait, click directly on the image below.
Other posts you may like
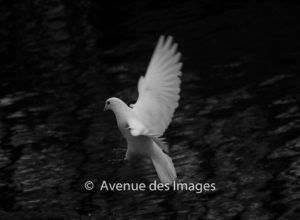
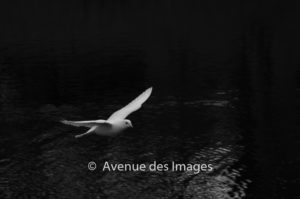
I have some other posts that focus on nature and rivers :
- Sailing around Hjorundfjord in Norway
- The Piscines Naturelles De Cavu
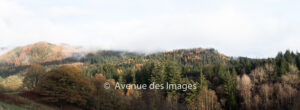
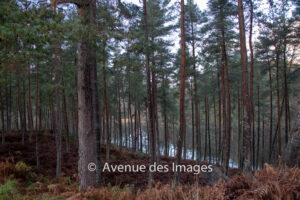
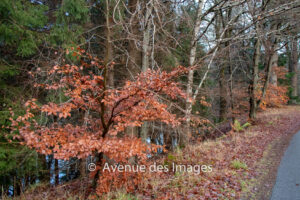
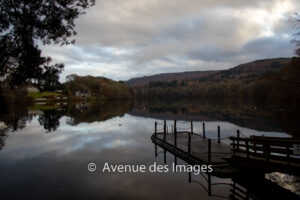
- Faskally Forest and Loch Dunmore
As the year comes to a close we wish you a happy and healthy new year.