Tag: techniques

End of the day – the Eiffel Tower

Estimated Reading Time: 2 minutes

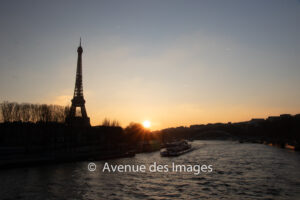
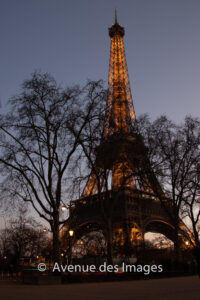
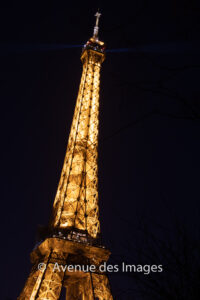
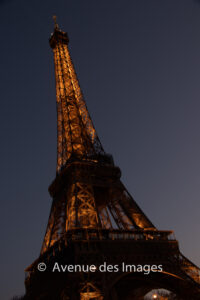
I was not very quick getting out of the house today. However a short trip into Paris and I realised I could take some photographs of the most iconic tower at end of the day – the Eiffel Tower in Paris. It was late in the day and I thought as I walked around the site I could capture the tower in different lighting.

In the evening bring a tripod

I had brought my full kit bag with me fortunately. It contains spare cards, batteries, objectives and 2 tripods. A classic tripod that attaches to the outside and a small one with bendy legs inside. It was the latter that proved most useful. The Eiffel tower is well known and very busy. The small tripod allowed me to easily use walls, statues and the ground for my shots. With the advantage of not bothering too many people.

The light

The glorious light of a winter’s day gives way to various stages of light as the sun sets and the light has to pass through more of our planet’s atmosphere. I discuss this further in another blog post. The phases for these photos are:

  • Golden hour
  • Blue hour
  • Twilight
  • Night

The route

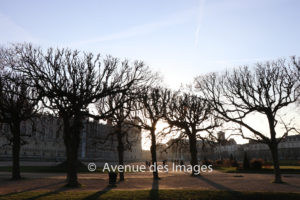
I started at the Alma-Marceau metro station. This is on the right bank of the River Seine and allows me to approach the tower via the pont de l’Alma. I then crossed the river Seine and walked towards the tower along the Quai Jacques Chirac. Once at the foot of the tower I walked away from the river towards the Champs de Mars. Then across the gardens to walk back to the river and back to the foot of the Eiffel tower. Then back across the river Seine via the Pont d’Iena. Up the pathways via the Trocadero gardens and finally back into the metro system and home. This short walk took me to the end of the day – the Eiffel Tower was definitely the star of the show.

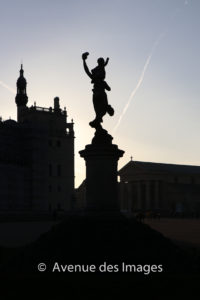
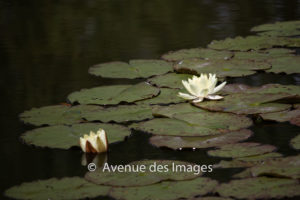
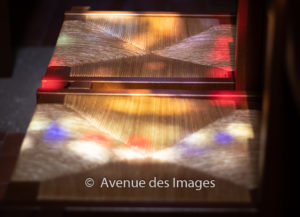
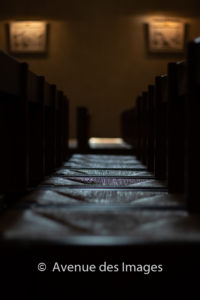
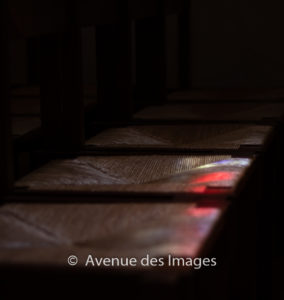
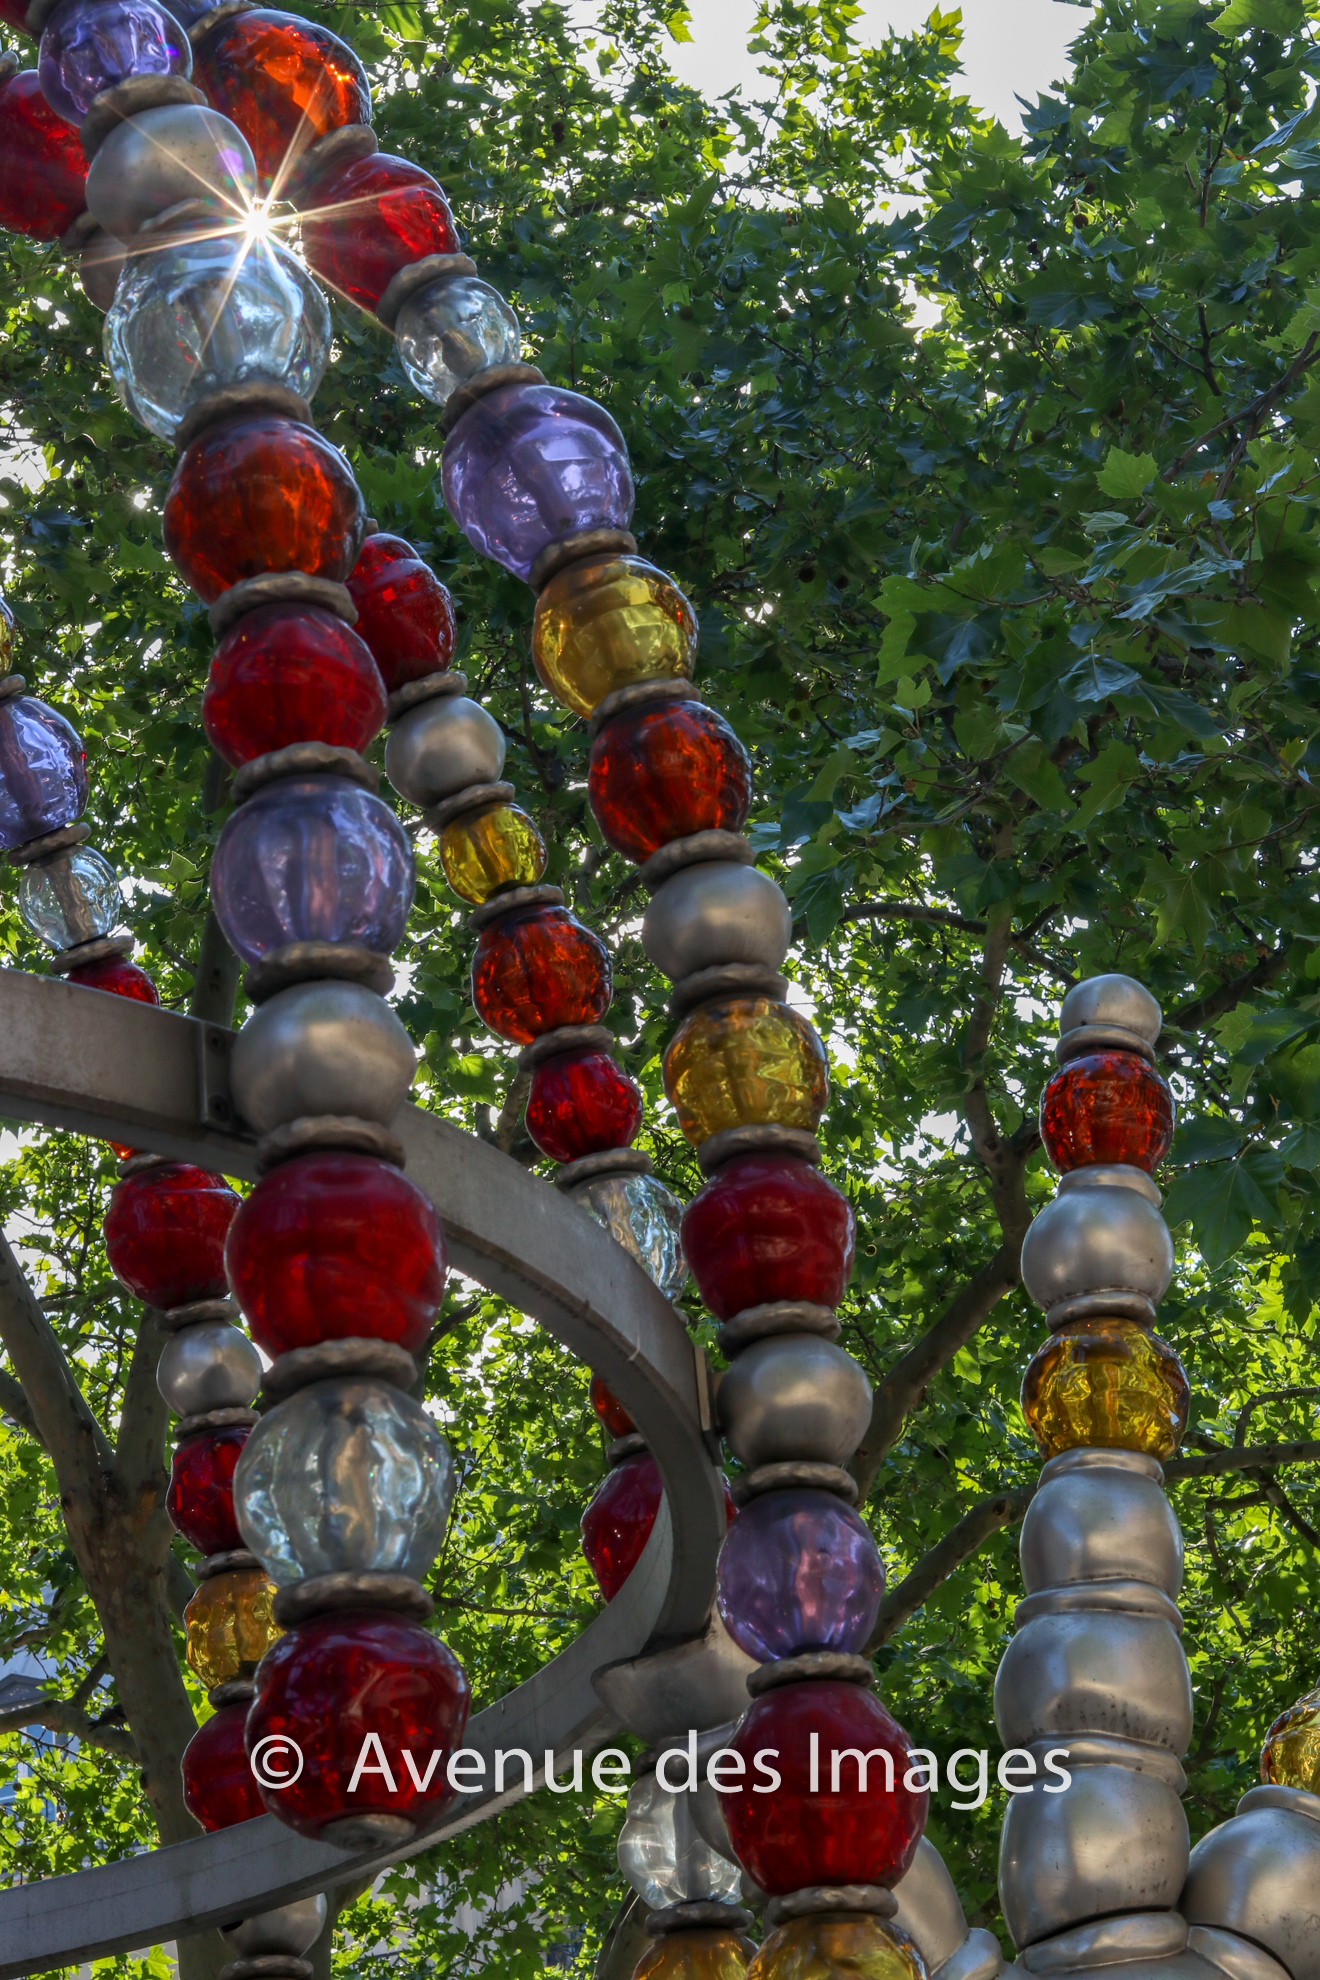
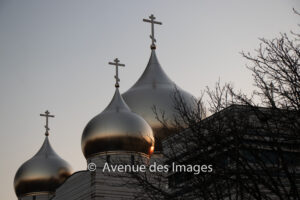
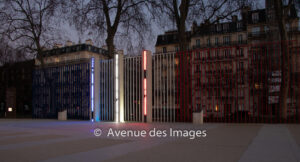
Also along the route

Please follow and like us

Other posts that may interest you

Explore underground Paris

Late evening sunlight

Low light needs a tripod and patience

Visiting the Arc de Triomphe and the business district La Défense

Please purchase

These photos, and many others, are available for purchase from the menu above, or even buy your art directly below.


Get started with long exposure 

Estimated Reading Time: 4 minutes

Long exposure photos can be some of the most remarkable images. But how do you get started with long exposure photography? Let me tell about a recent trip I did to Brittany, France, and give you some simple tips to get started.

I was lucky to be able to visit Tregastel, France during the 49th 24 hour sailing regatta (see the town’s French website – opens in a new tab).  This event hadn’t been held since 2019 due to the COVID pandemic. 

As the event takes place over 24 hours there was an ideal opportunity to experiment taking pictures of sailing yachts at night.  Additionally, there was a firework display scheduled that evening. A real treat.   Also a chance to try some other techniques.

What Is Long Exposure Photography? 

Exposure defines the duration that the camera’s sensor is exposed to light.  Originally it was the film, now it is the image sensor.  A short exposure lets in a little light, useful when in bright sunlight, and has the advantage of freezing movement as the subject is only seen for a fraction of a second by the sensor.  Long exposure photography does the opposite and uses a slow shutter speed keeping the sensor exposed to light for a longer period.  A long exposure will be defined when we keep the shutter open for a second or longer.  

Cameras will calculate the exposure time for you in automatic mode and you will see the time increase as light fades.  Many camaeras have a maximum of 30 seconds. In manual, or semi-automatic, mode you can set the time yourself.  Finally you can use Bulb mode, where you control the shutter, and it remains open as long as you are pressing the shutter release button.  

What does a long exposure create? 

As mentioned above long exposures will capture motion as the camera’s sensor is exposed to light for a longer period and  therefore a moving object will be seen by several parts of the sensor.  A common subject of long exposure landscape photos are rivers and waterfalls. As each drop of water travels across the sensor the water blurs and creates lines of blurred water, almost like clouds.  (You can see a long exposure waterfall image on the waterfall blog post) Images of waves at sea do the same thing.  Blurring will occur in any part of the scene where there’s motion.  This softens the image. 

In my case, even if I was by the sea, my target was to capture something moving in the dark.  In this case the long exposure lets what little light there is to be captured by the sensor.  This is how you can capture stars.  Of course, anything that is moving will  create the same soft blurred lines that a drop of falling water does. Whether it a boat or a star. So how do you get started with long exposure?

Tips for long exposure photography 

Taking photographs with a long exposure time is perfect for capturing motion blur and light trails. But there are some simple rules that must be followed.  Above I talked about moving subjects, but unfortunately the same is true if the camera moves.  If you shake the camera the tiniest amount when you press the shutter release button everything in the image will have that blurred movement effect and that is rarely the desired effect. 

Long exposure rules: 

  1. Use a tripod. Helps avoid camera shake. 
  1. Use a remote release button. This could be a wire, and remote control or a phone app. 
  1. Try various camera setting. There are broad rules, but you really need to set the camera up for your specific environment.  

Typical long exposure settings 

  1. The 500 rule. For star photography the 500 rule estimates the maximum exposure time you can shoot before stars become blurry or star trails appear. You divide 500 by the focal length of your lens. To capture the sky you would use a wide angle lens, for example,  a 18mm lens, then the rule says 500 / 18 = 27.78 seconds. This is just under the 30 second maximum that most cameras allow for a long exposure before going to bulb mode. 
  2. For fireworks. Fireworks are generally very bright so easy to see, but moving quickly and appear unpredictably. So start with ISO 200, F/11 and bulb. Press the shutter  release button when you hear the firework launch and keep it open until the firework fades. Check and see if you need to modify anything or everything.
  3. Use manual focus. It’s not easy for a camera to automatically focus on a firework which hasn’t even been lit yet. So set the focus to manual. We know the firework will be in the sky so set focus to infinity. In reality it’s not easy for us to do this either. Pointing the camera into the night sky and trying to focus when you can see nothing. A technique that can help is to set the camera to video mode and focus on some visible object, then switch to manual focus and finally back to camera mode. 

In my photographs you can see various fireworks which, ultimately, I took with F/7 to let a little more light in.  These simple tips should help you get started with long exposure photos.

If you are interested in other long exposure images take a look a the low light blog post.

Purchase my images.

You can purchase my images via the menu above or directly below:


Share my blog

You found this article interesting? I am thinking yes if you got this far. Please share with your friends

The role of white balance

Estimated Reading Time: 3 minutes

This March has seen a wide range of weather, more than usual I think. Early Spring warmth and late winter coolness. Spring weather photography can inspire and to benefit we must always have a camera handy. There was even a good coating of sand from the Sahara giving exceptional sunsets. In March the sun is still relatively low in the sky which helps with the lighting. So why am I talking about the role of white balance? Because as I mentioned, the early spring warmth and winter coolness, and white balance is all about the warmth and coolness of light. Here are three examples where different lighting can make a big impact on the results.

Let me draw your attention to a camera feature that you may rarely look at: White Balance.

What is White Balance?

It can simply be put as the colour of the light, and this is defined by its temperature. If we use the noon sunlight to be the standard some light appears more orange, for example candles, and some appears bluer, for example modern car headlights. These are also referred to as being warmer, being orange, or cooler when bluer like a cold tap.

White balance values

Your camera, and phone are, by default, set up to take pictures using an automatic setting for white balance, AWB. You will find it in the menu, or expert menu. The role of white balance is to adjust the camera to compromise lighting conditions to take a good image in most circumstances.

The setting of white balance is creeping into everyday life too. This should make understanding it much easier. When you purchase LED lights they are defined by their temperature. Temperature is defined by 3 scales: Celsius (C), Fahrenheit (F) and Kelvin (K). Ice is defined as 0°C, 32°F and 273.15K. LED lights and White balance use the Kelvin temperature scale. For your cameras, a little counterintuitively, warmer candle like orange light has a lower temperature than the bluer clear sky. Typically the light from a candle will be 2000K and a cloudy sky 6500K.

How to set white balance

Why modify the AWB setting? Simply we want a white sheet of paper to look white when we photograph it. If we take the photo of the white paper in a candle lit room the paper will appear orange. The role of white balance is to tell the camera that this orange colour, the 2000K, is in fact white, which is about 5500K. The camera then has a simple addition/subtraction of some Kelvin to do to make our whites really white.

In the menu of the camera you may not find the Kelvin scale, but terms which relate to the typical light source for that temperature. So 2000K will be referred to by incandescent. 6500K as cloudy.

Using RAW is better

If you can take your photos in RAW, rather than JPEG, you have the added advantage that in post processing you can modify the white balance easily. This can be very useful, for example, when you are taking a series of photos of the same subject. A wedding is a classic example where the bride is dressed in white and you are photographing her in the garden, in sunshine and shadows, inside dark a building, around a candle lit table, in camera flash. All very different lights and therefore temperatures. If you don’t modify the white balance the dress will change in colour during your day.

Learn more

There are many resources on the internet which can explain all this in more detail and go further to explain how to set the white balance manually using the white object that you want to appear white in specific lighting conditions.

Take a look here, photographylife.com (opens in a new tab) for example.

Other photos

I have some other different lighting photos on my site, for example: Evening sunlight and lighting and shadows.

Some of my photos are available for purchase on my Adobe Stock store or the link in my fine art store (opens in a new tab).

Late evening sunlight

Estimated Reading Time: 2 minutes

The late fall/autumn evenings announce the arrival of a sun that is lower in the sky and gives a warmer glow to your images. Late evening sunlight is often enhanced by a sprinkling of cloud in a crisp blue sky. I particularly like it for creating silhouettes, sunbursts and warm panoramic scenes.

The sunlight early in the morning is also a desirable commodity and gives wonderful lighting to your photographs. Late evening sunlight, like early morning sunlight, takes a different, longer journey through the atmosphere before reaching the subject of your photograph. The blue light tends to get dispersed on this longer journey leaving more red and oranges.

The Golden and Blue hours

As the quantity of blue light is reduced the Late evening sunlight has a more golden colour, and this gives rise to the popular term of the Golden Hour. The golden hour occurs shortly after the sun has risen and before the sun sets. As the sun sets and sinks below the horizon all those red and orange lights are fired over our heads and the light turns bluer as we head towards night. Likewise in eth morning, before the sun rises the light has a blue tinge to it. It isn’t difficult to understand why these periods are known as the blue hours. It’s worth noting that neither the blue, nor golden hours actually last rigorously an hour. Their duration depends on the time of year and where you find yourself on the planet.

Position of the sun

The lighting around dawn and dusk are determined by the position of the sun. During the golden hour the sun’s position is low. The late evening sunlight of the golden hour gives you :

  • more reds and oranges
  • longer shadows
  • lower intensity light
  • side or straight on lighting

The midday sun would be the opposite lighting. The sun gives

  • bright whites and dark blacks
  • short shadows
  • bright bleached washed out colours
  • top down lighting

So the golden hour is the prefer time for many photographers.

Morning and Evening

There are two golden hours each day. In summer, the closer you live to the poles, the earlier or later you have to be out taking photographs. That can be a considerable advantage of the winter golden hours for the late risers. Taking advantage of the both golden hours is not always required. Choose the best one for your subject. The sun won’t be totally opposite in the morning and evening golden hours but if the sun is the wrong side of your subject in the morning, there is a good chance in the late evening sunlight you will have the shot you are looking for.

As the day turns to night the photographs are transformed with the changing light. The last few minutes of the late evening sunlight give beautiful sunsets.

Some of these photos are available for purchase on my Adobe Stock store. Or from the menu above, or even buy your art directly below.


Other posts that may interest you

End of the day – the Eiffel tower

Low light needs a tripod and patience

Using a zoom lens

Estimated Reading Time: 2 minutes

A Summer morning gave me another chance to grab my versatile 18-135 mm f/3,5-5,6 zoom lens and Canon DSLR show you the possibilities when using a zoom lens. The weather was bright sunshine which presents some issues but makes a walk in the garden very enjoyable. The flowers, leaves, insects, the reflections on the pond were the ideal environment to get great photos and a source of inspiration. In this post I just want to show you the impact of using a zoom lens on the composition of the image.

The context

The above panorama shows the context. There is a path that goes all the way around the pond, with bridges at both ends. The view is particularly captivating from the bridges. But it is also beautiful from all sides. This means that people are often in the frame and can be a distraction from the natural beauty. Using a zoom lens, and patience, will allow you to capture the images when there are few or no people in the frame.

Above you can see people on the bridge and on the right hand side. The person in red, under the weeping willow tree, is the most bothersome as red really catches your attention.

First, whenever possible, set the ISO on your camera to 100, as I did here. This will reduce any potential for noise in the final image. Noise being a grainy aspect to the photograph.

Three examples

Here are 3 photographs from the bridge at the eastern bridge. They were taken with focal lengths set to 22mm, 56mm and 76mm.

If we compare these to the panorama we can see that the higher the focal length is the less we can appreciate the length of the pond. Distances are compressed. This is where the artist in you will decide the right balance between keeping the depth of field in the image, zooming to remove distractions, and focusing on details.

Clearly if the bridge is the subject of the photo the more you zoom the more of the bridge you will see. It is hardly visible at 22mm. But if you are taking a photo of a water lily pond, then 22mm really shows the pond in its surroundings.

My favourite here is the 56mm. Why, because it takes the gentlemen on the right out of the frame, it keeps the blue sky, the impression of a pond. The reflection on the waters surface of the sky is less overpowering.

Zooming even more

Changing the objective on my camera to allow me to zoom to 250mm allows me to focus on individual items in and around the pond. Here is a of 2 while lilies amongst their leaves. There are several insects in and around the flowers. If you look carefully there is a turquoise dragon fly just a short distance above the left lily.

I did another post on zooming earlier in the year which you can find here.

You can see more flowers from this garden in my flowers gallery, https://avenuedesimages.com/flowers-and-plants/

Some of my photos are available for purchase on my Adobe Stock store or directly below. There are other landscape photos here.


Low light needs a tripod and patience

Estimated Reading Time: 3 minutes

Low light can bring a great atmosphere to any photo. However, low light needs a tripod and patience if you are to capture the subjects at their best. A tripod because you are going to be taking long exposure photographs and without it there will be movement. The slightest movement will lead to blur. Patience because those long exposures may mean people and pets keep popping into frame at the wrong moment spoiling the perfect shot.

Low light occasions easily present themselves at dusk and dawn and indoors. I am going to a local church to capture some of the atmosphere.

What equipment?

As I said, low light needs a tripod and patience. I have a small Rollei tripod. Some will say I am a bit short of patience but we’ll make do. Traveling light means I will take my Canon and 50mm objective. Why not a zoom you may ask? Really, I choose my 50mm because it has has a large f/1.8 aperture so it can let what little light there is into the camera body. It’s also a great objective for capturing a variety of subjects.

Making sure there was nothing else was happening in the church, and that we had permission, I was allocated 2 hours with the objective of 10 or so images.

The process

Initially take a slow walk around the building looking at everything. Focus on the lighting and shadows. You might not be able to get high up, check out where any choir or organ is situated. But certainly low down angles can give interesting images. If you have seen some of my photos of trees you will know I like looking up, for example. Contrasting shades and colours are good subjects. This can come from lights, or even better the sun. I was fortunate to have sun shining through stained glass windows which brings colour to objects which wouldn’t normally be coloured. Candles are also a source of light but the flames do move so can be tricky on long exposures or when creating an HDR, or bracketed, image.

After reviewing the site, set the ISO to 100. Why? we don’t want the camera software doing clever compensation for the lack of light and increasing the sensor sensitivity leading to noisy pictures. Although I have heard that you can reduce the noise, by merging several images. Not something I have tested yet but when I do I’ll add a link here. Because we have our tripod we can extending the exposure time to avoid any issues . Finally, set the settings to manual or AV, Aperture priority, f/1.8 and off we go.

The results

I wanted to share the images capturing the architecture, the candles and the sunlight. They show that low light needs a tripod and patience. Whether it be waiting for the visitors to move away from the seating, the walkways or the pillars. or coming back to the same chair later in the visit as the sun made its way round to add colour to plan straw chairs.

Finally, if you are out and have no equipment or just out of patience, today’s cameras can do a good job. For example the final candle above. The downside is that it’s a little noisy.

Other posts that you may like

If you are interested in lighting, I have some other photos on the lighting page.

There is also a blog post on :

Some of my photos are available for purchase on my Adobe Stock store, via the link in the menu or directly below.


Simulating Tilt-Shift photos to create a model village effect

Estimated Reading Time: 2 minutes

Tilt-Shift is the technique used to create a photo that looks like a model village. You can simulate this effect in software. It is an illusion created by manipulating the focus in the picture. By blurring the image horizontally we confuse the viewer and the brain interprets the distance and scale differently. The image appears to present in focus objects as being tiny when compared to the normal sized objects which are blurred in the image. The effect is enhanced by increasing the colour saturation in the photo. Luminosity and contrast can be adjusted too if needed. Below I will take you through the steps to simulate tilt-shift photos.

Equipment

  1. For this you need a photo
  2. Editing software, such as Photoshop or the GIMP (The Free & Open Source Image Editor, available from their site)

Steps

Time needed: 15 minutes

Simple method to simulate tilt-shift photos

  1. Select the best photo

    Choose an suitable photo – this should be a wide angle photo that does not include the sun and sky. It should also be taken looking down on the scene

  2. Open the photo

    Open the photo in the software, for example the free GIMP.

  3. Duplicate the image and add a mask

    Duplicate the image and add a mask, which will be used to select the horizontal part of the image to remain focused while the rest is blurred.

  4. Blur the remainder of the image

    Select the image and apply a blur to the image. The choice of blur will depend on the software release you are using but is not critical. I use lens blur.

  5. Increase the saturation of the image

    Using the menu, Try +30 to start.

Other considerations

Photoshop has tilt-shift blur in the blur gallery, so you can see where the focus strip is and the result in real-time.

Sometimes items that need to be in focus to make sense of the image will not be in the straight horizontal strip. In this case you must adjust the mask to include them. Take this image below. The flags are not entirely in the same strip as the people. So the Photoshop tilt-shift blur gallery tool would have to include most of the image if we expanded the strip to include all the flags. This is not what we are trying to achieve.

The top part of the flags is blurred. This gives an unsatisfactory effect.

Keeping all the flag in focus is more pleasing and improves the simulation. Although in reality the flags are much closer to the photographer than the people. The result is more satisfactory.

We do this using a mask so we can be more selective and include all the flags in our selection to remain in focus.

In the gallery above there’s a picture of the beach at Trègastel. There’s another photo from Trègastel in the lighting section.

You can find another post relating to New York here.

There are more tips on this external site.

Purchase your own copy of my work

Some of my photos are available for purchase on my Adobe Stock store or directly below.


Using unusual lighting conditions to create interest and impress your audience

Estimated Reading Time: < 1 minute

Take any item and photograph it in unusual lighting conditions or from a different, maybe unexpected, angle. Using unusual lighting conditions to create interest is an easy technique. This makes for interesting shots that can also surprise the audience. Maybe keep them guessing on the actual nature of the object. Here I take a common food item. There are other examples of how lighting can be used here.

Let’s look at the golden image. It could be flames, maybe the sun, or a precious stone. It is a thin slice of a button mushroom on a backlit sheet of glass. Using unusual lighting conditions create interest.

Own my images

I have made some photographs available for purchase on my Adobe Stock store, and directly below or the link in the menu.


Good things come in threes

Estimated Reading Time: < 1 minute

Composing a nice balanced picture is critical. There is a well-known rule of thirds. This divides the picture into 3 horizontally and vertically. Like the # sign, but straight. When applying the rule the main subject of the photo should fall on the intersection of the lines. I discuss this in relation to landscape photos on this page. So why Good things come in threes? Because there is another rule of 3.

I also think that when taking a photo of a group of things, there are other rules of 3. For example trying to organise the subjects into triangles is often a good idea. I also find that 3 inanimate objects is the minimum for a group photo if it is to look interesting. And to choose short depth of focus. In these shots I took some simple items in groups of 3. With 1 or 2 there’s not as much interesting depth, focus, lighting etc. Good things come in threes.

I have made these photos available for purchase on my Adobe Stock store.

Here you can see the photos all have shadows and reflections on the shiny surface. All adding more to the image without adding more items.

Other photos of mine are available for purchase on my Adobe Stock store or directly below.


Shooting Sun Flares and Starbursts

Estimated Reading Time: < 1 minute

Sun flares and starbursts bring sparkle to any photo, and fortunately are not difficult to create.  They are created by the light passing through the aperture of the lens.  The aperture is formed by a small number of overlapping blades which reduce the hole as we increase the f-stops.  When the whole is small, for the sake of argument f/11 and above, the light is diffracted, or bent a little as its passes through the aperture.  This creates the starburst on the captured image.  The number of  points on the star is defined by the number of blades,  and the number of blades tends to increase with the price of the objective. Shooting sun flares and starbursts can be achieved in few simple steps.

In these 2 photographs the light source is the sun, but it doesn’t have to be.  The first is taken at 1/125s f/11, the second 1/60 at f/16, both with a 50mm objective.

I have chosen to have a small sun flare in these two photos. You can adjust your settings and position to make them bigger.

Equipment:

  1. light source
  2. for example 18mm to 50mm focal length objective
  3. small aperture
  4. tripod

Steps:

Time needed: 10 minutes

Shooting Sun Flares and Starbursts

  1. Assess the lighting

    If pointing at the very bright sun, consider fixing a filter to the objective, if at night use a tripod

  2. Set to Aperture priority

  3. Set ISO to 100

  4. select F/22 to start

  5. Shoot without looking directly at the sun and adjust as needed

Some of my photos are available for purchase on my Adobe Stock store or directly below.