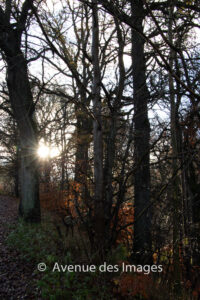
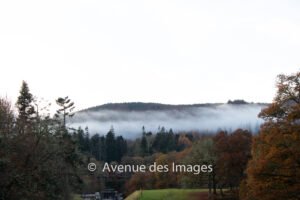
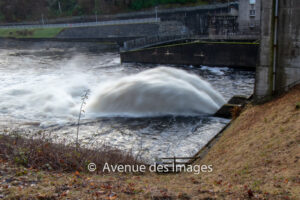
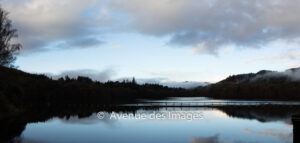
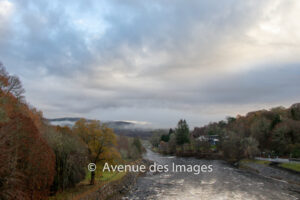
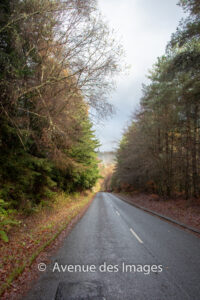
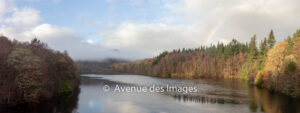
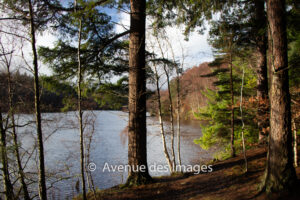
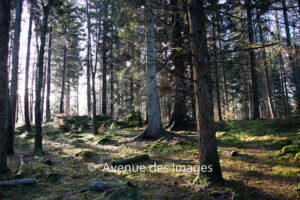
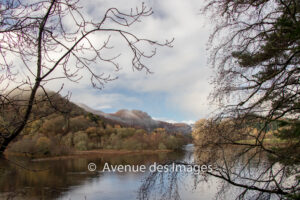
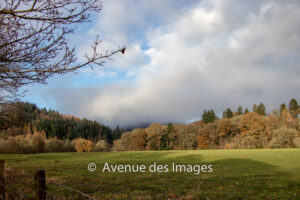
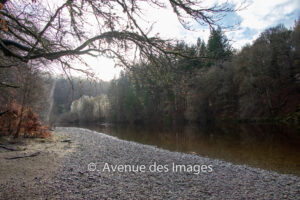
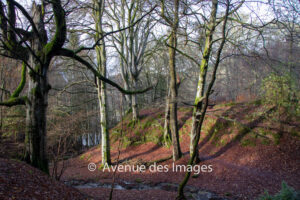
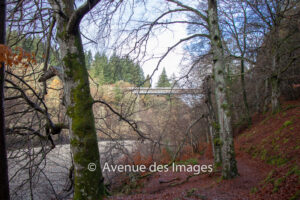
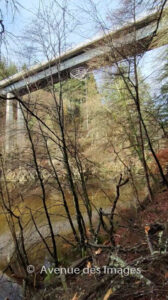
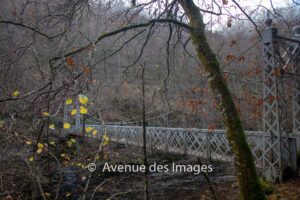
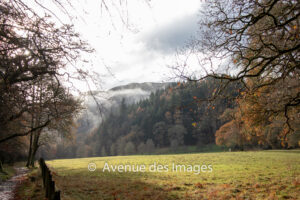
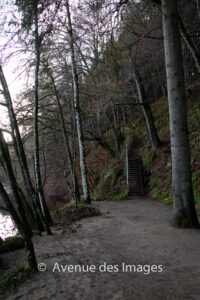
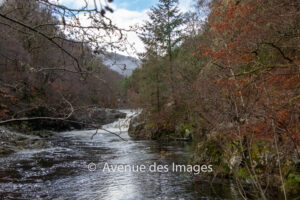
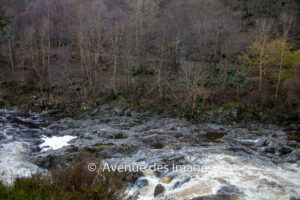
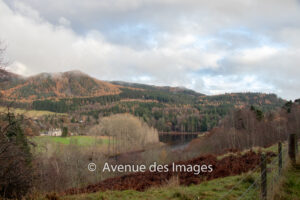
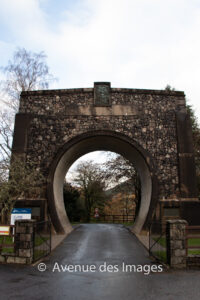
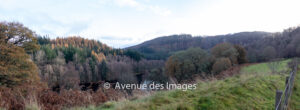
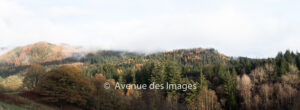
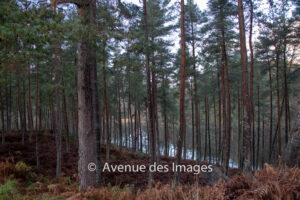
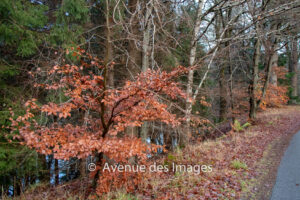
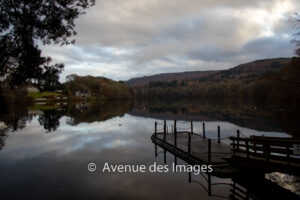
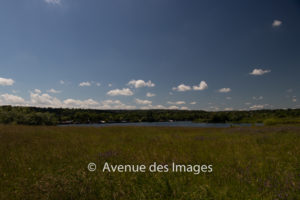
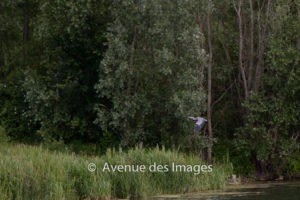
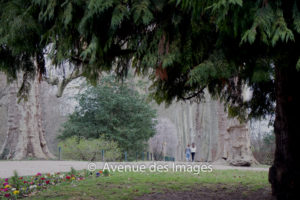
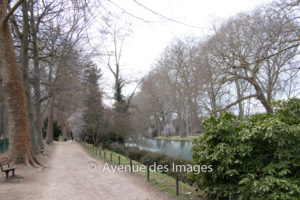
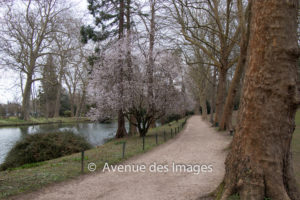
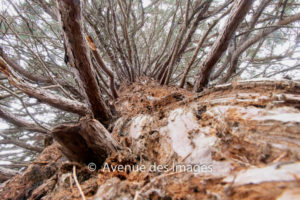
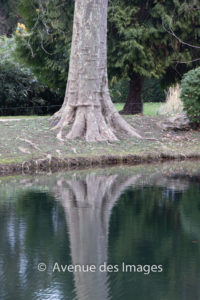
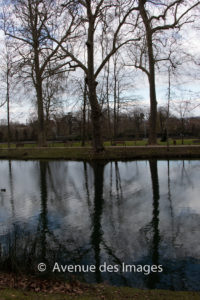
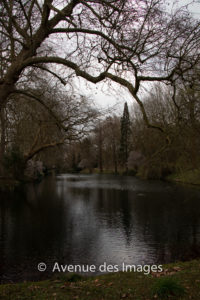
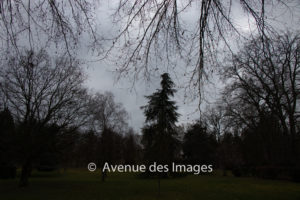
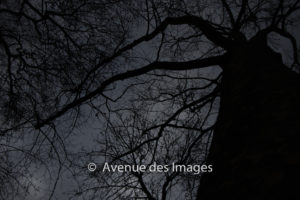
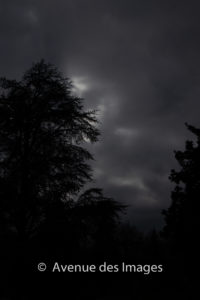
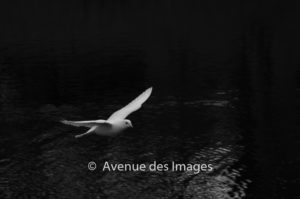
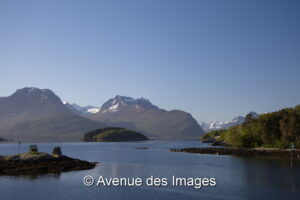
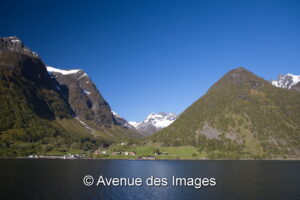
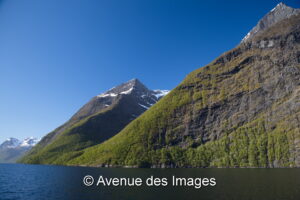
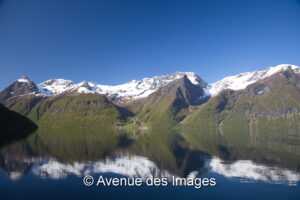
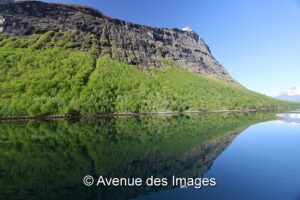
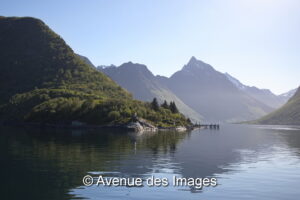
I was up nice and early to catch the early morning sun and make the most of a morning on Hjorundfjord in Norway. The steep cliffs that surround it are typical of southern fjords and make for spectacular scenery. There are still snow-capped mountains too which make for a breathtaking backdrop. This was topped by the calm deep fjord itself and the fantastic reflections.
I took many many photos and picked a selection – 8 as it happens. I’ll be adding moire to my online store as I go through them. These are available for purchase at prints.avenuedesimages.com

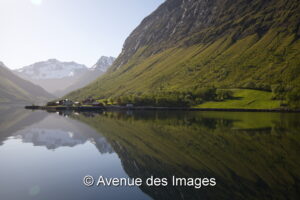
It was a wonderful trip, well recommended.
How to Purchase other works
A selection of my photos are available for purchase online. Why wait, click directly on the image below.