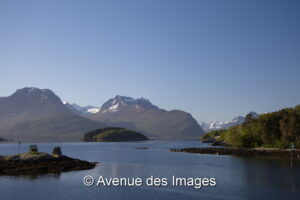
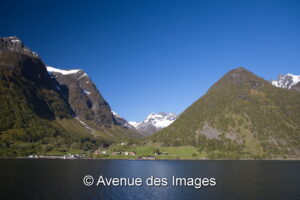
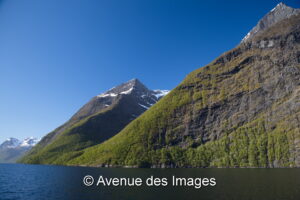
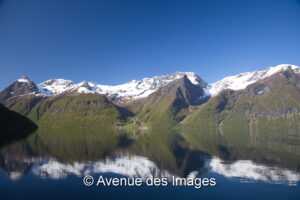
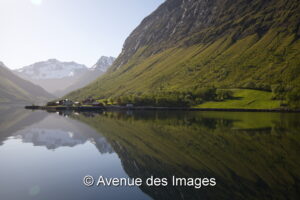
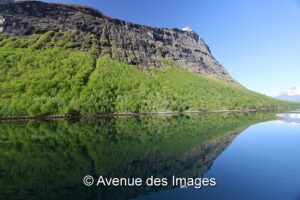
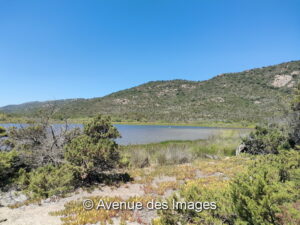
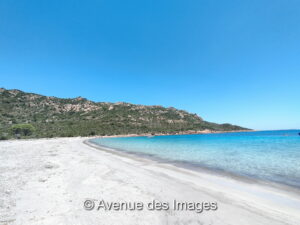
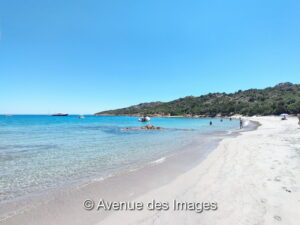
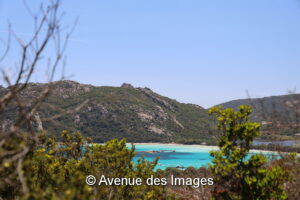
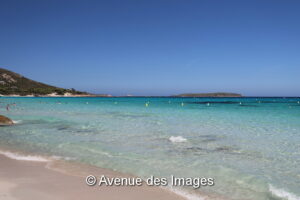
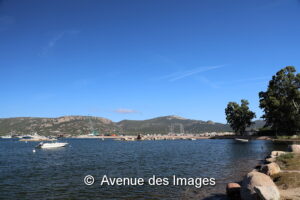
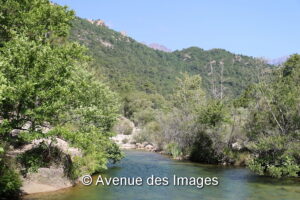
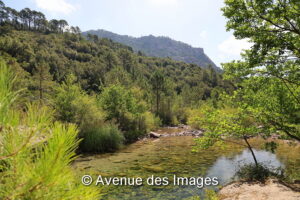
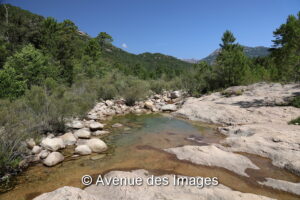
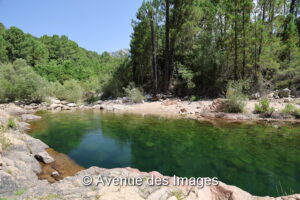
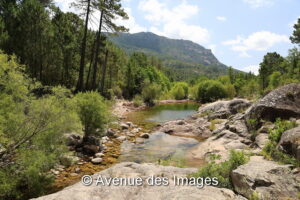
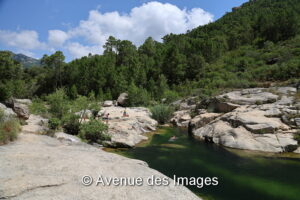
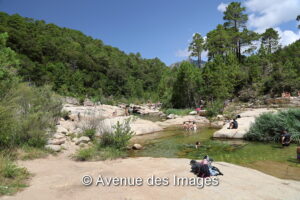
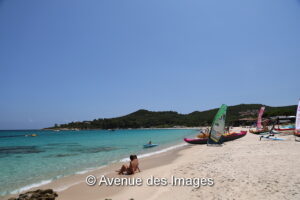
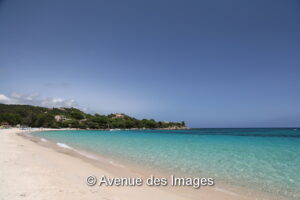
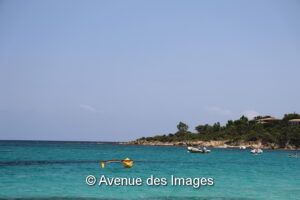
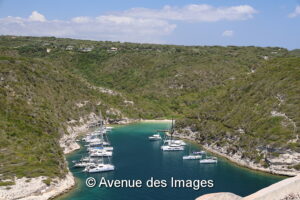
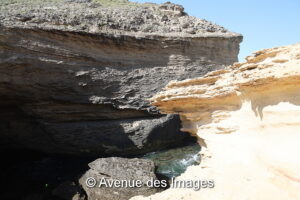
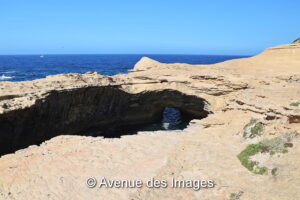
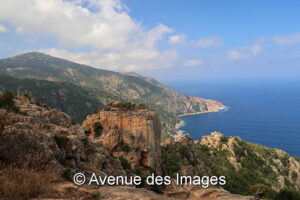
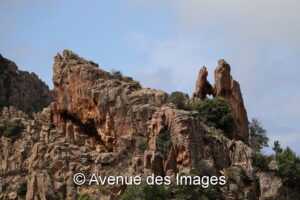
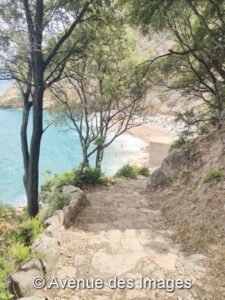
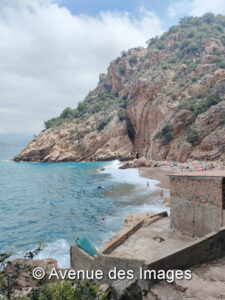
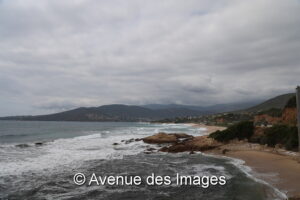
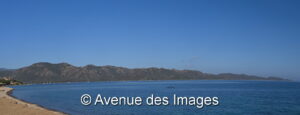
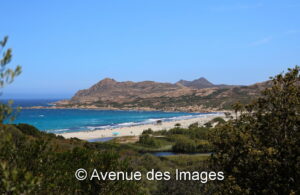
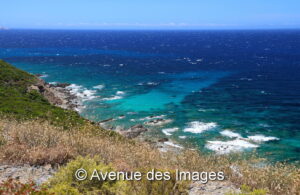
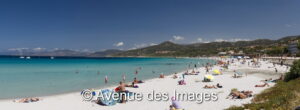
There is one place in Brittany, France I don’t tire of and that is Tregastel, Coz-Pors beach and the surrounding headland and rock formations. I’ve been coming here for many years and keep taking photographs of the same beautiful scenery. Each time it’s like my first visit to Tregastel, Coz-Pors beach.
Once back home I look back and see that the pictures I have taken are of the same rocks and beach but the lighting is slightly different, the boats are sometimes present, there maybe people, the sea is slightly different, and the framing is a tiny bit different. It’s a wonderful place.
I have a dozen or so images from my recent visit here. The sun is shining and the air clear. It’s early April. I hope you enjoy them.


It’s not always sunny
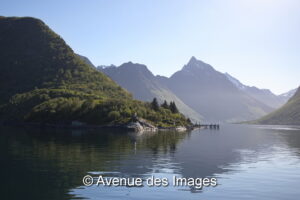
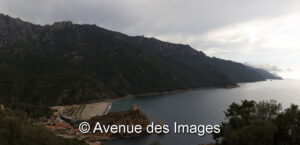
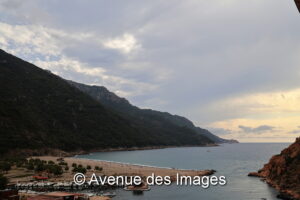
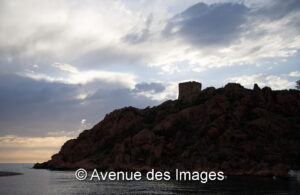
Brittany weather can change very quickly. And nightfall also has a big impact on the scenery. As nightfalls and as cloud cover increases it creates a whole different context for the photographer. These 2 images show dusk on a cloudy evening. A small yacht has tied up to a buoy for the night.


Cloudless sunset
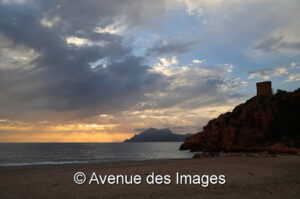
For my last evening on this visit the sky was almost completely cloudless and the sunset was spectacular. These 5 images capture the sun disappearing into the sea.


How to Purchase
A selection of my photos are available for purchase online. The links to purchase the images above from the Coz-Pors beach, Trégastel, France, are on the corner of the image. Why wait? Click directly on the image below or go to the online store
Please follow and like us
Other posts you may like
There are other images from Tregastel in Brittany, France here:
- Getting started with long exposure
- An example of tilt-shift of the beach in this post