With your DSLR camera you can add some fun effects to your photos. No need to spend hours on post-production, nor expensive equipment. This simple technique adds custom shaped bokeh to your photos giving them new interest and originality.
In case you haven’t used the term bokeh, it refers to the blurred patches of the photo. And here we hope to give these patches a shape. Let’s go though the simple steps you need to add bokeh patterns to your photos.

Equipment:
- Dark card or plastic
- Scissors or sharp knife
- Tape
- An objective with a wide aperture (f2.8 or wider if possible)
Steps:
Time needed: 45 minutes
Adding custom bokeh patterns to your photos
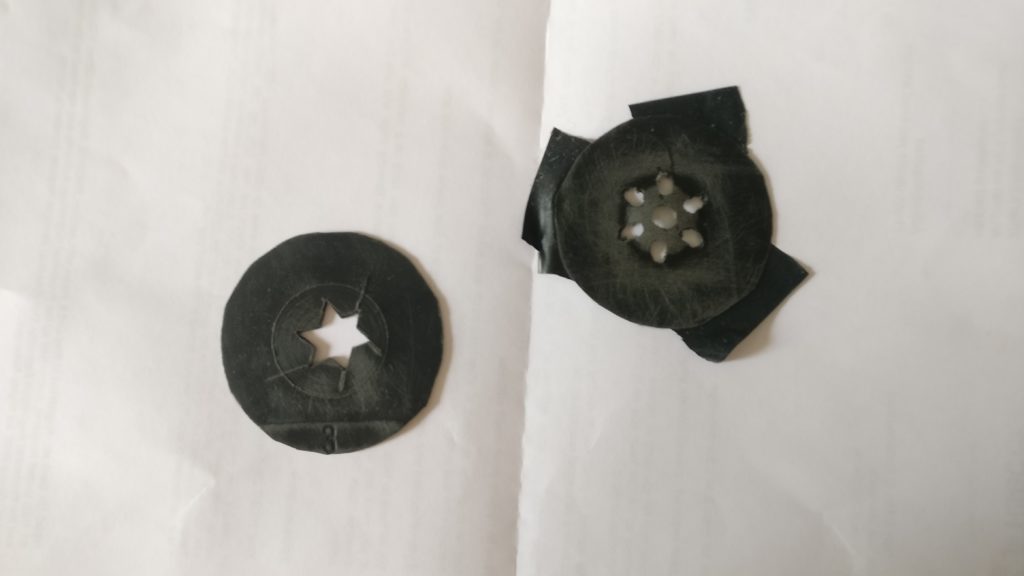
- Cut the card
Cut the card into a disk the same size as the objective
- Design the custom pattern
In the centre cut out the desired pattern, up to 2 cm across.
- Tape it to the objective
with black electricians tape, fix the card to the objective leaving no gaps
- Set the apperture
Set aperture to f2.8 or wider, and manual focus if you prefer
- Shoot
Take a few shots and verify the effect. Move yourself and the camera to experiment taking the shot from different angles, elevations and positions.
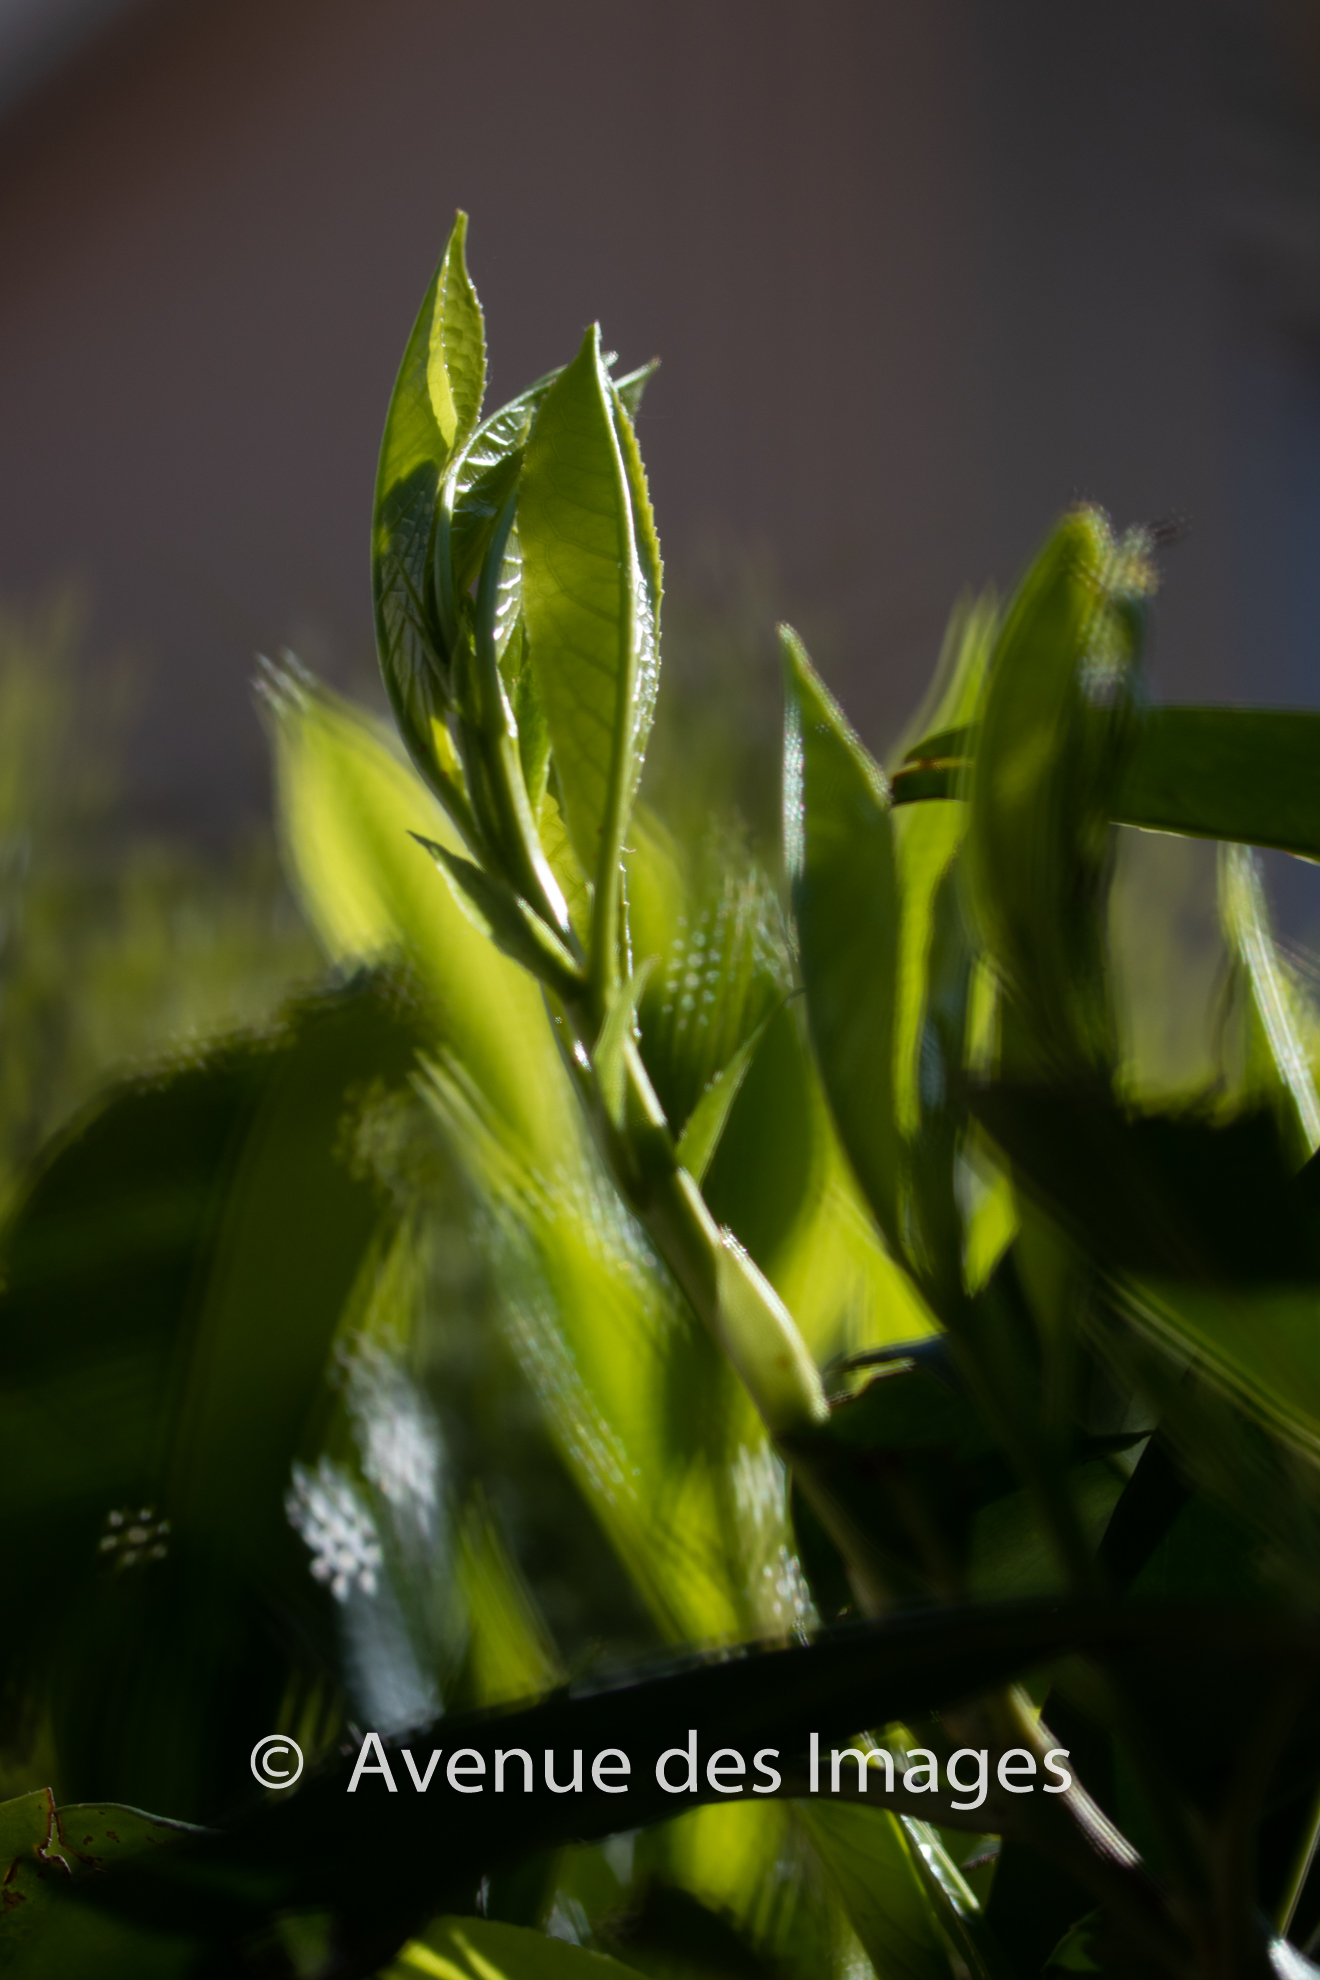
When you take a photo you don’t control where the bokeh appear and the same is true here. So experiment by moving in relation to the light source. You may find that you need greater distance than you think between the light source and the object, especially if you are using a 50mm lens.
These 2 were taken using a 100mm macro lens at f2.8. It’s a laurel bush in the sun.
Using 2 caches: 58mm diameter with 18mm and 22mm shapes. They were made from the base of 2 black plastic plant pots. More details from an external website.
Other photos of mine are available for purchase on my Adobe Stock store or directly below.